36 Real Ways to Increase Blog Traffic
As bloggers, no matter which stage of our journey one is at, we are constantly looking for different ways to increase blog traffic. In this

A blogging platform is the technical foundation of your business. This is where everything begins, so you need to go with a service that you can scale later.
I started out without any guidance and picked up a hosting platform that was.. well, not the greatest. My site suffered from that and I ended up having to transfer it on my own.
Transferring your website is not a task for light-hearted, that’s why I want to really emphasize the importance of a great hosting platform!
There are many absolutely amazing platforms out there, and they can get pretty expensive at times, especially when you don’t see a return on investment right away.
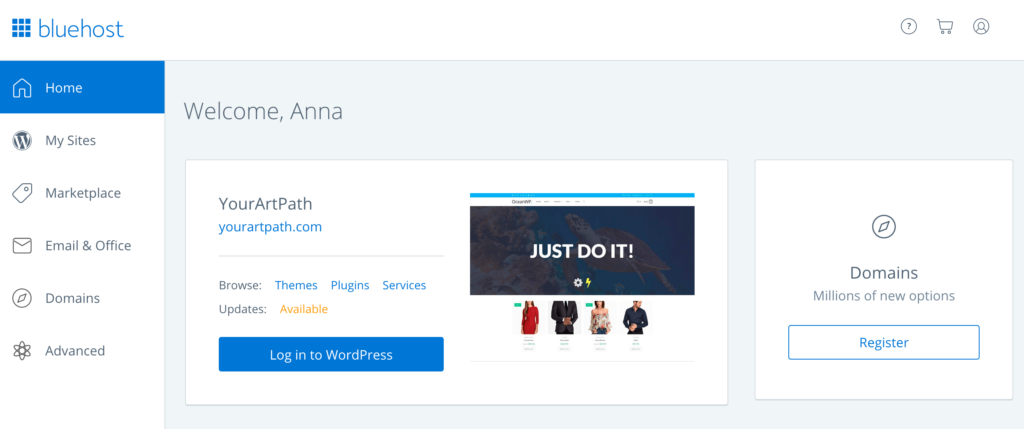
My choice? Bluehost.
I currently have their 3-year subscription and I couldn’t be happier!
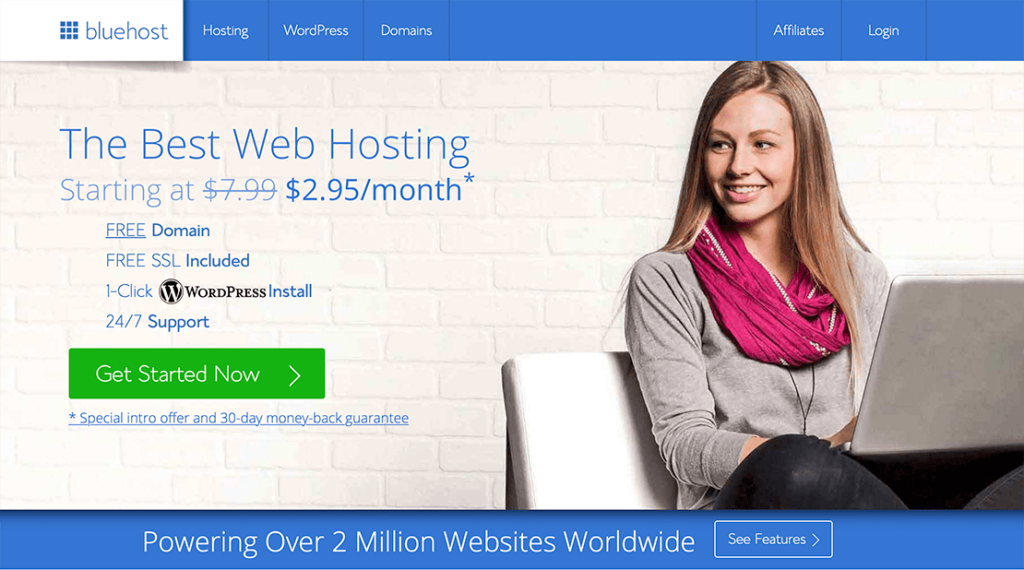
Here are some things I love most about Bluehost:
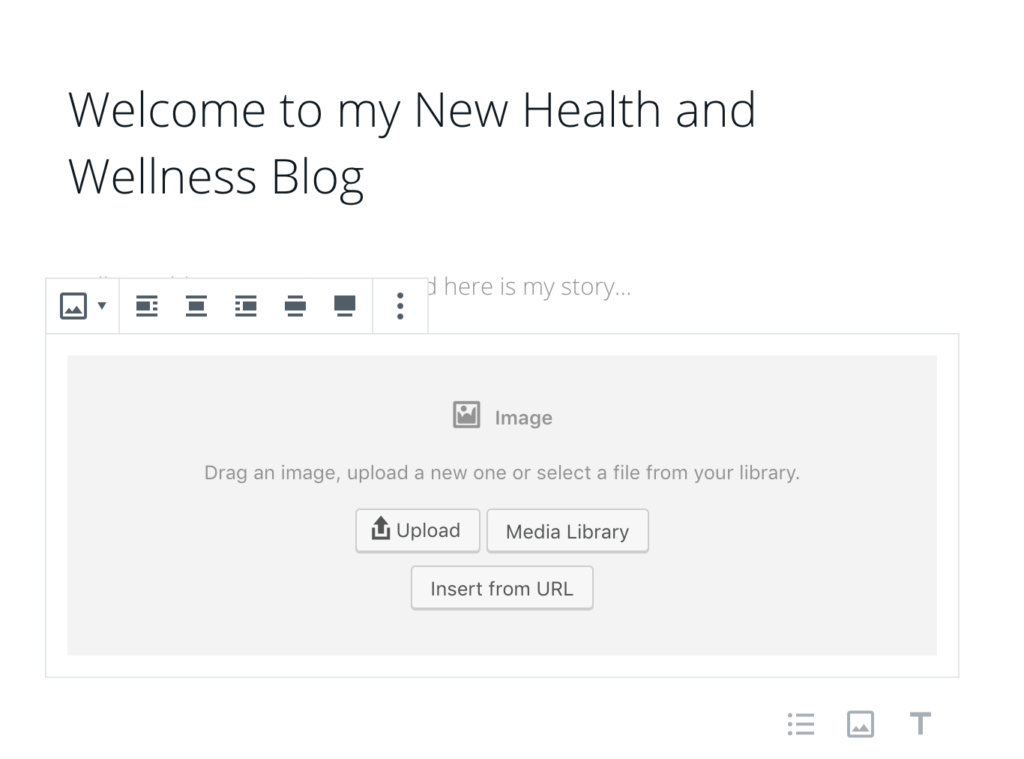
Now, it’s time to actually set up your blog.
It’s such an exciting time because in just a couple of minutes a new website will be born!
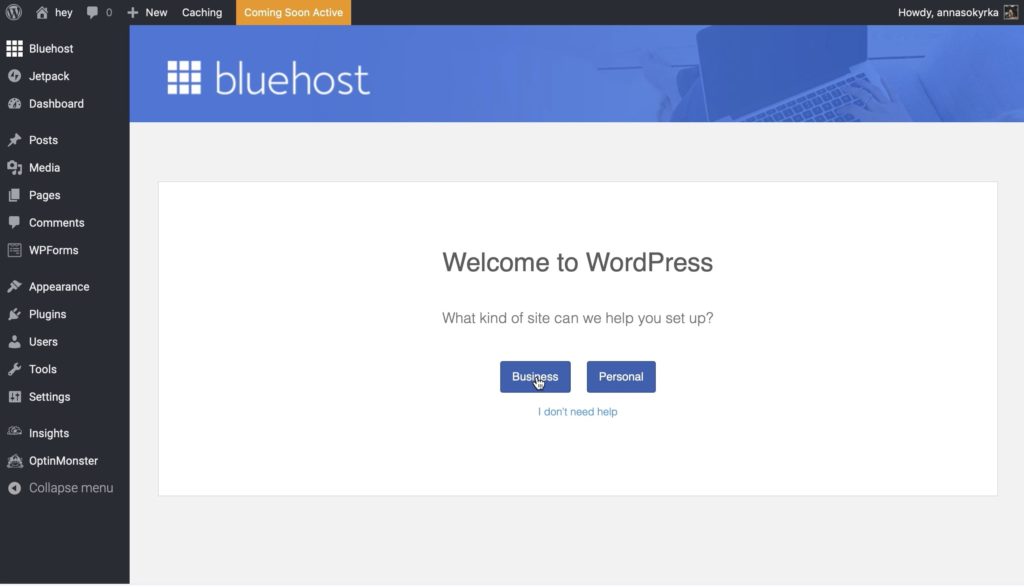
If you decided to go with Bluehost and WordPress then the following step-by-step guide is for you!
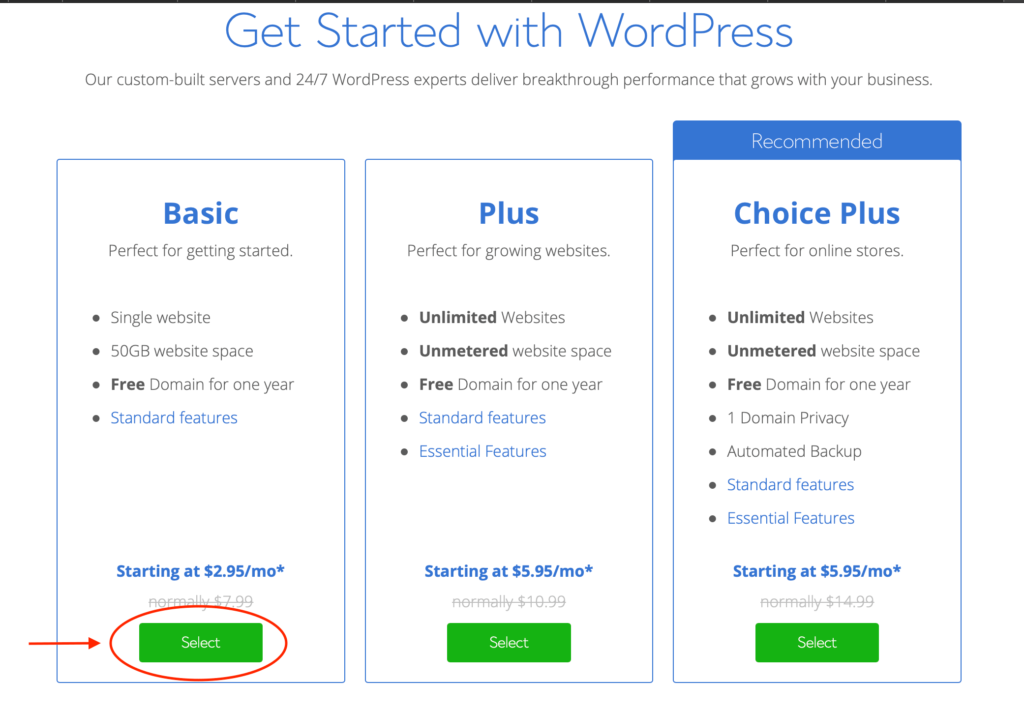
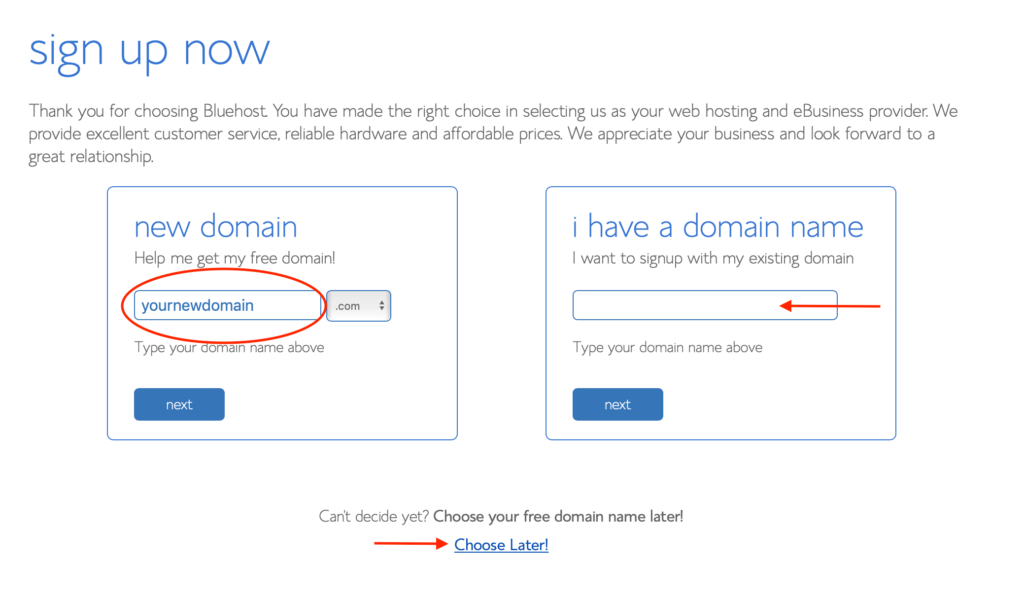
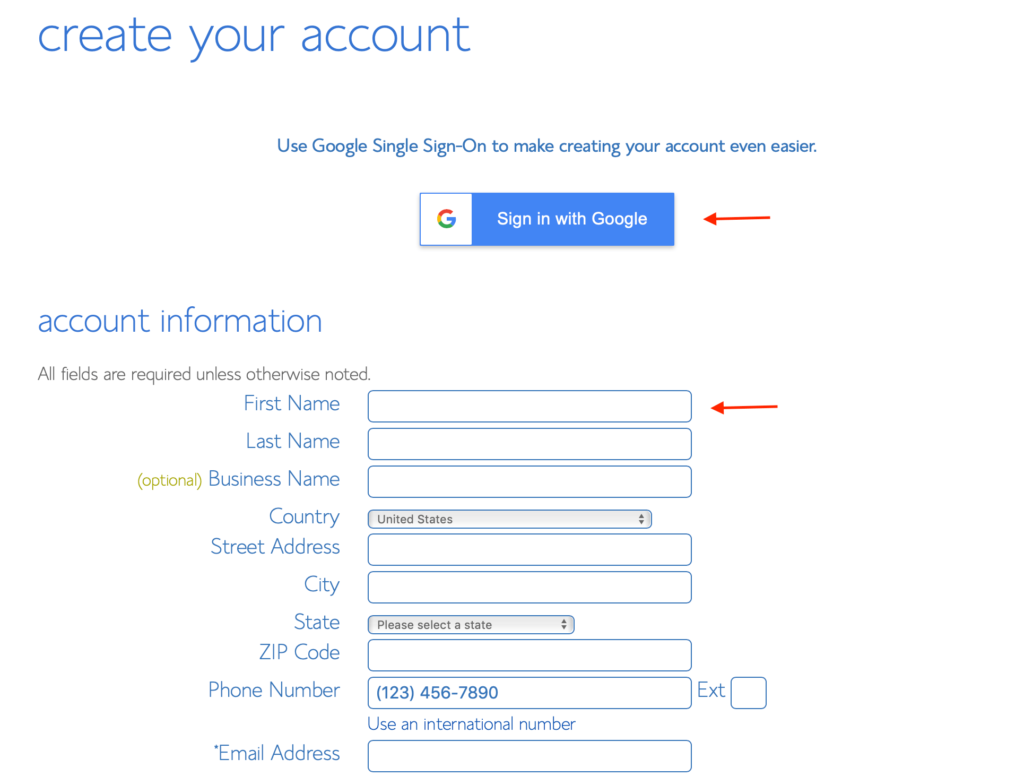
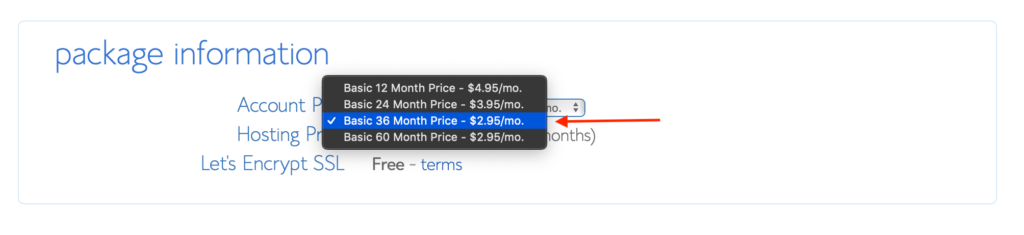
Let’s begin by signing up for a Bluehost Package.
You will be presented with many options, and I have the Choice Plus WordPress Hosting package. But at the beginning it’s best to go with “Basic”, you can upgrade later!
You can click on “get started now” to be taken to a couple of options, or if you are looking for a plan like mine then in the top menu click on WordPress -> WordPress Hosting.

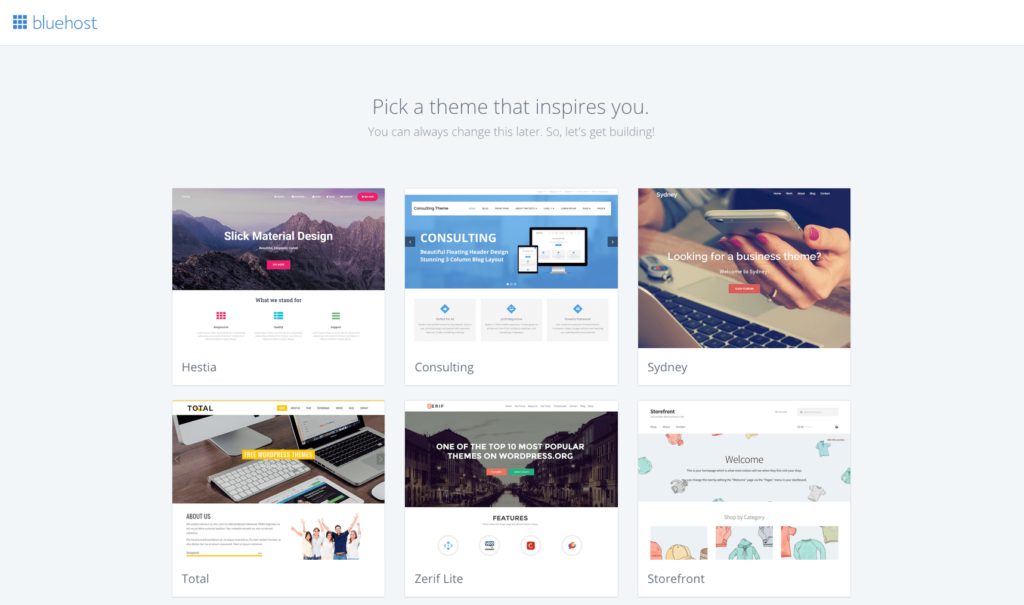

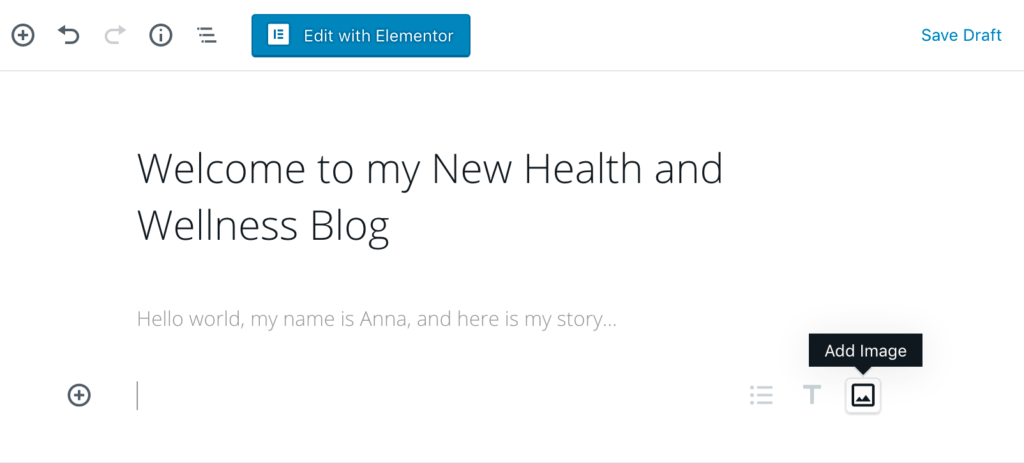
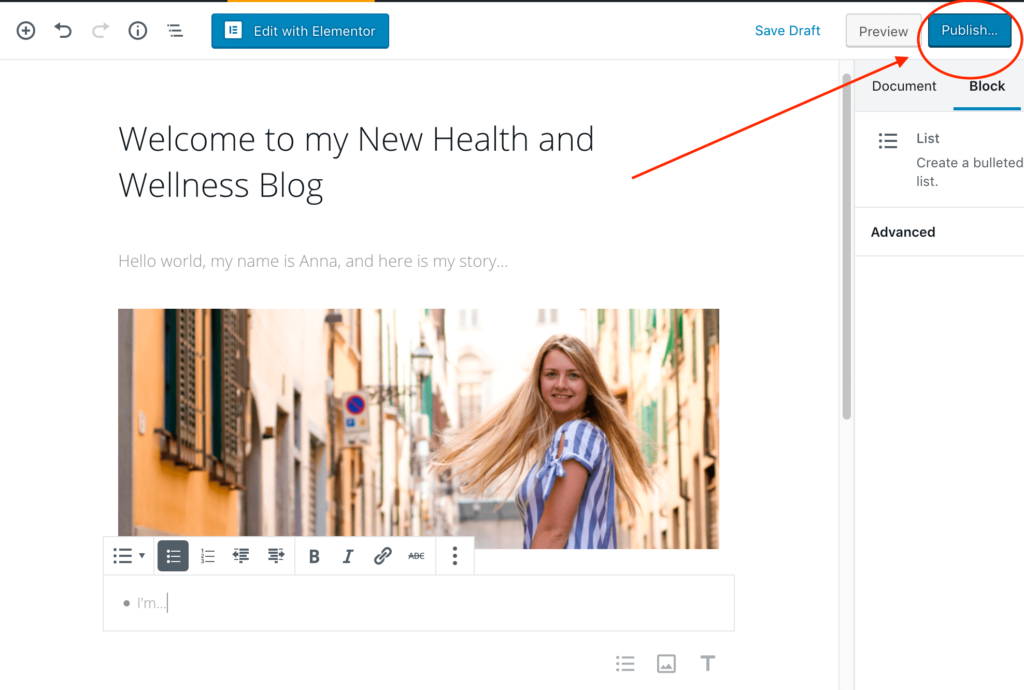
By this time you should have your blog ready to go! Now it’s time to write some stunning content continuously and start earning some income.
There are a few ways bloggers make money:
I know I mentioned them before, but to get started making income right away, you need to focus on ads and affiliate marketing.
Keep this in mind as you write more content. After your first 10 posts, you should be comfortable with WordPress and you will have a better understanding of what blogging involves. Then, look into ads and affiliate marketing.
And make sure to check out my post on how to make your first $100 blogging!
Until then, good luck 🙂
The hardest times of blogging are the beginning, when you have to figure out every piece of the puzzle.
I hope this guide was helpful and you are ready to take over the Internet with your new stunning content 😉
Cheers,
![]()
As bloggers, no matter which stage of our journey one is at, we are constantly looking for different ways to increase blog traffic. In this

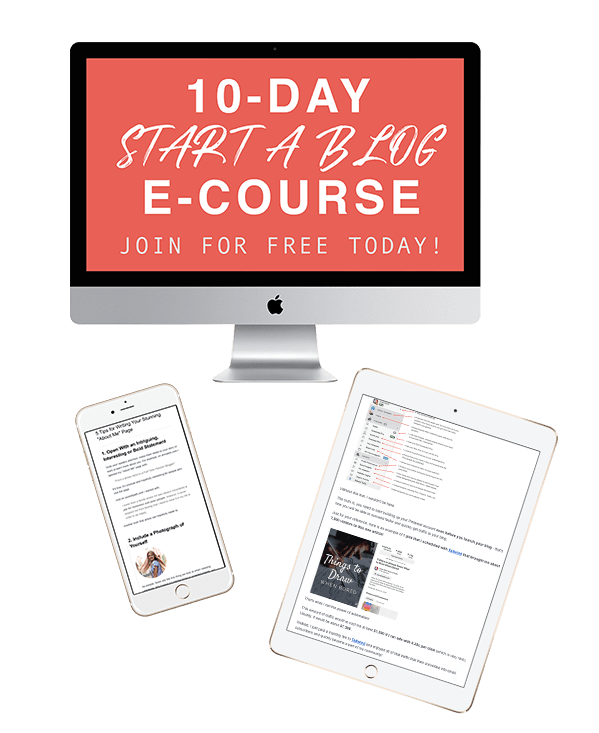
Email Marketing is a big part of a blog’s success! Honestly, I don’t know what I would do without my subscribers! You guys are my

“Anna, when should I monetize my blog?” I get this question asked by many beginner bloggers who are eager to get started blogging the right